
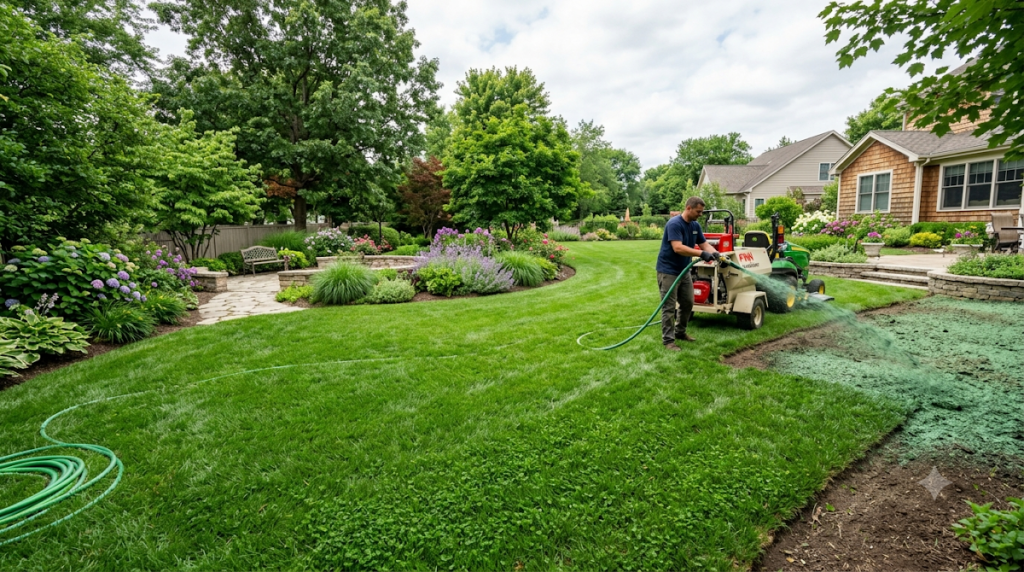
Quick Answer: DIY hydroseeding costs $0.15\u2013$0.25 per square foot and establishes a lawn in 3\u20134 weeks. Success requires bare soil, a 50\u201370\u00b0F soil temperature, and a slurry of seed, mulch, water, and tackifier sprayed evenly at 1,500\u20132,500 gallons per acre. Rent a 50\u2013100 gallon machine for under 250 sq. ft.; buy for anything larger.
What Is DIY Hydroseeding (And Is It Worth It?)
Hydroseeding is a spray-on method that combines grass seed, cellulose or wood mulch, water, and a binding agent (tackifier) into a single slurry. A pump sprays this mixture onto bare soil, where the mulch locks in moisture and protects seed from wind, birds, and erosion. Unlike hand-seeding, hydroseeding produces a thicker, more uniform lawn in roughly half the time.
DIY vs. Professional Hydroseeding Costs
| Factor | DIY Hydroseeding | Professional Service |
|---|---|---|
| Cost per sq. ft. | $0.15\u2013$0.25 | $0.08\u2013$0.35 |
| Equipment cost | Rent $75\u2013$150/day | Included |
| Ideal lawn size | Under 5,000 sq. ft. | Any size |
| Time to spray | 4\u20138 hours | 1\u20133 hours |
| Slurry expertise | You manage it | Guaranteed mix |
For homes under a quarter acre, renting a machine saves 30\u201350% versus hiring a pro\u2014provided you nail the slurry mix and weather timing. Favor the DIY route if you have a weekend, a strong back, and bare soil ready.
Tools and Materials Checklist
Gather everything before you start. A complete DIY setup costs $200\u2013$400 beyond seed, assuming you rent the hydroseeder.
- Hydroseeder: Rent a 50-gallon unit for under 250 sq. ft.; use a 100-gallon tank for up to 1,000 sq. ft. for even coverage.
- Grass seed: 5\u201310 lbs per 1,000 sq. ft. for bare soil.
- Mulch: 50 lbs of wood or paper fiber per 1,000 sq. ft.
- Tackifier: 1\u20132 lbs per 100 gallons of slurry; use a non-ionic, environmentally safe formula.
- Starter fertilizer: 18-24-12 or similar; apply before seeding at 5 lbs per 1,000 sq. ft.
- Soil amendments: Compost or topsoil for poor soil.
- Safety gear: Gloves, goggles, respirator mask for handling dust.
- Water source: 1,500\u20132,500 gallons per acre; a garden hose refill rate of 5\u201310 gpm dictates tank refill time.
Pro tip: Sharpen your sod cutter blade before removal and keep a spare spray-nozzle tip on hand. Clogged nozzles are the #1 DIY failure point.
Step 1: Plan Your Seed and Mulch Slurry
Choose the Right Seed Blend
Match seed to your climate and sun exposure. Cool-season grasses (tall fescue, Kentucky bluegrass, perennial ryegrass) thrive in the North with optimal soil temps of 60\u201375\u00b0F. Warm-season grasses (Bermuda, zoysia, centipede) require 70\u201390\u00b0F soil. For shady yards, use a 50\u201370% fine fescue blend.
Select Mulch and Tackifier
Wood fiber mulch holds water best on slopes; paper fiber is cheaper and breaks down faster on flat ground. Both keep the seed moist and hide it from birds. Always add a tackifier\u2014it glues mulch to soil and prevents washout on inclines steeper than 3:1. Skip mulch if you want a faster green but expect higher seed loss.
Step 2: Perform a Soil Test (Do Not Skip)

A soil test tells you your pH and nutrient baseline. Grass thrives at pH 6.0\u20137.0. If your test shows pH below 6.0, add agricultural lime at 50 lbs per 1,000 sq. ft. and wait 4\u20136 weeks before seeding. For pH above 7.5, incorporate elemental sulfur at 1\u20132 lbs per 100 sq. ft.
When to test: Test 6\u20138 weeks before your planned seeding date. You need results back before you mix slurry or you risk wasted seed on hostile soil.
Step 3: Prepare Your Lawn Surface
Clear and Grade the Ground
Hydroseeding only works on bare, level soil. Remove existing grass with a sod cutter set to 1 inch deep or use a non-selective herbicide 2 weeks prior. Rake out stones, roots, and debris larger than a nickel. Grade the soil so water drains away from your foundation\u2014aim for a slope of 1\u20132% (1\u20132 feet drop per 100 feet).
Mark Sprinkler Heads and Utility Lines
Spray paint or flag every sprinkler head, valve box, and in-ground utility line before you spread soil. Slurry clogs sprinkler heads and buries valves. Call 811 for utility marking 48 hours before digging.
Amend and Re-Grade
Incorporate 1\u20132 inches of compost into sandy or clay soil with a rototiller. Add starter fertilizer at 5 lbs per 1,000 sq. ft. and work it 4\u20136 inches deep. Rake the surface smooth, then roll with a lawn roller to settle the seedbed. Final surface should be firm enough that a footprint leaves a \u00bc-inch indentation.
Step 4: Prepare the Hydroseeder and Slurry
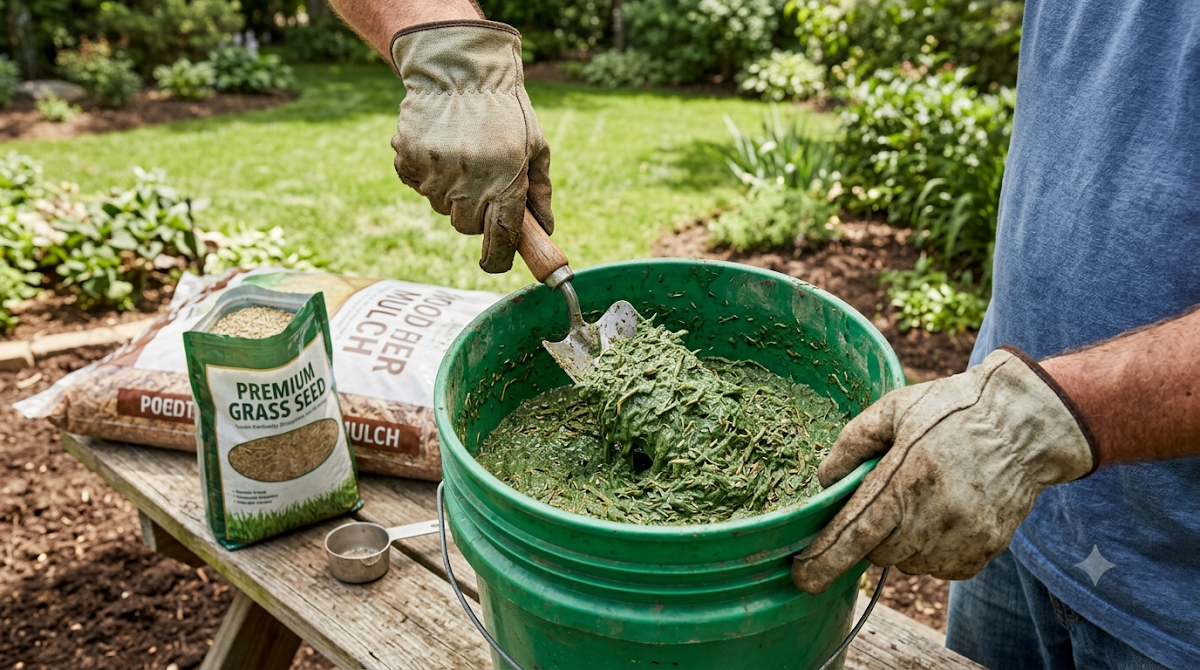
Rinse the tank, then fill it halfway with water (use the manufacturer\u2019s rated capacity). Add seed first to ensure it stays suspended, then mulch, then tackifier. Keep the recirculating agitator running the entire time\u2014stopping it lets seed sink and clump.
Batch ratio for a 100-gallon machine: 40 lbs mulch, 10 lbs seed, 1 lb tackifier, and 100 gallons water. Mix for 5 minutes before spraying. Target a slurry thickness like thin pancake batter\u2014it should coat soil without running off.
Step 5: Spray the Slurry Correctly
Spray in overlapping passes, holding the nozzle 6\u20138 feet from the ground. Keep a continuous back-and-forth motion\u2014do not stop mid-pass or you\u2019ll create a seed patch. Aim for uniform green-tinted mulch coverage with no bare spots. On slopes, spray in two thin passes instead of one thick coat to prevent runoff.
Coverage target: 1,500\u20132,500 gallons of slurry per acre equals about 60\u2013100 gallons per 1,000 sq. ft. Check your manure spreader or machine gauge mid-job; if you run dry early, you sprayed too thick.
Step 6: Watering Schedule (The Critical Phase)
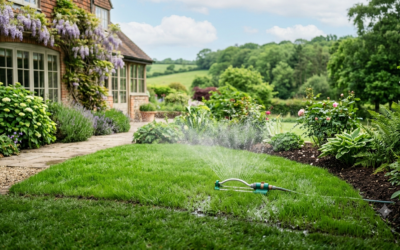
Keep the mulch moist at all times. Days 1\u20137: water lightly 2\u20133 times daily (\u00bc-inch of water each time) to prevent seed drying. Days 8\u201314: reduce to once daily. From week 2 onward, water deeply and infrequently\u20141 inch per week\u2014to encourage deep roots.
Germination timeline: Perennial ryegrass emerges in 5\u201310 days; tall fescue in 7\u201312 days; Kentucky bluegrass takes 14\u201321 days. Expect full coverage by weeks 3\u20134. First mow at 3\u20133.5 inches (never cut more than one-third of the blade).
Expert Troubleshooting and Safety Checks
Mowed Too Early?
If you mowed below 2.5 inches before root establishment, raise your deck, water deeply, and stop mowing for 14 days. Tall grass shades soil and allows crowns to recover. Apply a light nitrogen dressing (\u00bd lb per 1,000 sq. ft.) to stimulate regrowth.
Wet Weather Delays
Heavy rain within 48 hours of spraying erodes mulch and redistributes seed. Walk the lawn after drying and check bare washout spots\u2014reapply slurry to those areas within 7 days so the new batch aligns with existing germination. Do not re-spray the whole yard.
Slurry Too Thick or Thin
A sludge-like mix clogs nozzles; watery slurry runs off slopes. Add water in 5-gallon increments for thickness, or add 5 lbs of mulch to tighten thin slurry. Always mix for 3 extra minutes after adjustments.
Safety and Environmental Checks
- Wear a respirator rated N95 or above when handling seed and mulch dust; wear gloves and rinse skin immediately after contact.
- Never spray near storm drains or waterways\u2014slurry runs off into creeks and pollutes. Set up a silt fence on slopes.
- Keep pets and kids off the lawn until the slurry dries (4\u20136 hours) and off germinating areas for 3 weeks.
- Check wind speed: Spray only below 10 mph to avoid drift onto sidewalks, driveways, and neighboring turf.
Frequently Asked Questions
Can I hydroseed over existing grass?
No\u2014hydroseeding over existing grass prevents seed-to-soil contact, and germination rates drop to near zero. Remove the old lawn with a sod cutter or herbicide, wait 2 weeks, then hydroseed on bare soil. Overseeding existing thin grass with a hand spreader is a better option.
How long does it take for hydroseed to fully establish?
You\u2019ll see germination in 3\u201314 days depending on specieslint. Full lawn establishment\u2014thick enough to mow and walk on\u2014takes 3\u20134 weeks for ryegrass blends and 6\u20138 weeks for bluegrass. Wait until grass pulls easily from soil with slight resistance before heavy foot traffic.
What\u2019s the best time of year to hydroseed?
For cool-season grasses, the ideal window is late summer to early fall (August\u2013October), when soil temps hit 60\u201375\u00b0F. Spring seeding (April\u2013May) works but opens you to summer weed pressure. Warm-season grasses need late spring\u2013early summer (May\u2013June) with soil at 70\u00b0F+. Seeding outside these windows risks poor establishment.
Is DIY hydroseeding cheaper than sod or seeding?
DIY hydroseeding runs $0.15\u2013$0.25 per sq. ft., roughly half the cost of professional services and 60\u201370% cheaper than sod, which costs $0.30\u2013$0.80 per sq. ft. installed. Compared to hand-seeding, hydroseeding costs more upfront due to rental but delivers 2\u20133\u00d7 faster establishment and reduces seed loss to birds and wind.
Final Verdict: Is DIY Hydroseeding Right for You?
DIY hydroseeding is a powerful, cost-effective way to establish a thick lawn\u2014if you can commit to soil preparation, slurry timing, and a strict watering schedule. It\u2019s ideal for homeowners with 500\u20135,000 sq. ft. of bare soil, a 2\u20133 day weekend, and a location with mild wind. If you have a steep slope, poor drainage, or limited time, hire a pro and let them manage the slurry. For related insights, see our detailed guide on Zoysia Grass Fertilizer Guide.