
What Is a High-Lift Blade for Lawn Mowers?
A high-lift lawn mower blade is a cutting blade with sharply curved wings that create strong upward airflow. That suction lifts grass upright, cuts it evenly, and moves clippings into a collection bag or through a discharge chute. It matters most when I want a clean cut and reliable bagging.
Expert Summary>
– A high-lift blade uses steeply angled wings to generate stronger suction and airflow than standard or low-lift blades. – High-lift blades work best for bagging grass clippings, side discharge, and mowing thick or tall grass. – The main trade-offs are higher power demand, more noise, increased dust, and potentially faster battery drain. – A high-lift blade must match the mower’s length, center-hole pattern, deck clearance, and manufacturer specifications. – High lift is usually a poor choice for sandy, dusty ground or routine mulching because the strong airflow can throw debris and move clippings out too quickly.
Step 1: Understand How a High-Lift Mower Blade Works
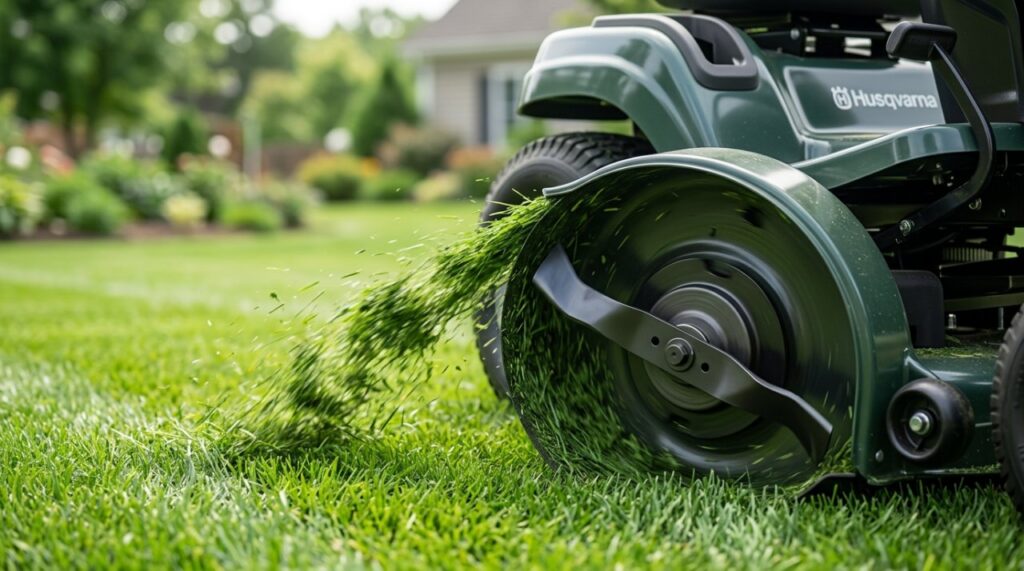
Identify the airflow-producing wings before choosing a blade. A high-lift blade has pronounced upward curves near both ends, often called wings, sails, or lift tabs.
As the blade spins, these wings behave a little like a fan. They pull air and grass upward inside the mower deck.
That upward movement helps in three ways:
- It encourages bent grass blades to stand straighter.
- It gives the cutting edge a better chance to make a clean cut.
- It carries clippings toward the bagging system or discharge opening.
I noticed the difference most clearly when collecting slightly overgrown grass. A standard blade could cut it, but the bag did not fill as evenly, and clumps sometimes remained behind.
Recognize the blade’s basic parts
Most high-lift blades include the following areas:
- Cutting edge: The sharpened section that cuts the grass.
- Lift wing: The raised section near each blade tip that generates airflow.
- Center mounting hole: The opening that connects the blade to the mower spindle or shaft.
- Additional locating holes: Holes or slots used by certain mower mounting systems.
- Blade body: The central section that provides strength and stability.
The wing shape is the feature that separates a high-lift blade from a flatter blade. A steeper wing generally creates more lift, although the complete blade and deck design also affect real-world airflow.
Understand why mower deck design matters
A blade does not work independently of the mower. The deck shape, discharge opening, engine power, blade speed, and bagging system all influence performance.
This is why I do not choose a replacement blade based only on its length. A blade can appear to fit but still be unsafe or perform badly if its hole pattern, thickness, offset, or lift profile is wrong.
Step 2: Compare High-Lift Blades With Other Mower Blades
Compare blade types according to how you handle clippings. High-lift blades are usually best for bagging, while mulching blades are designed to keep clippings under the deck longer for repeated cutting.
| Blade type | Airflow level | Best use | Main advantage | Main limitation |
|---|---|---|---|---|
| Low-lift blade | Low | Dry, short grass and dusty or sandy areas | Uses less power and stirs up less debris | Weaker bagging and discharge performance |
| Standard-lift blade | Moderate | General mowing and side discharge | Balanced everyday performance | May struggle with heavy bagging |
| High-lift blade | High | Bagging, side discharge, tall or dense grass | Strong suction and clipping movement | More noise, power use, and dust |
| Mulching blade | Varies | Returning fine clippings to the lawn | Cuts clippings repeatedly | Can clog in wet or overgrown grass |
| Gator-style or toothed mulching blade | Moderate to high, depending on design | Enhanced clipping recirculation | Breaks clippings down efficiently | Not automatically compatible with every deck |
High-lift blade vs. mulching blade
A high-lift blade moves clippings away quickly. A mulching blade keeps clippings circulating under the deck so they can be cut into smaller pieces.
I would choose a high-lift blade when I plan to:
- Collect grass in a rear or side bag.
- Use a compatible side-discharge chute.
- Mow grass that is too tall for effective mulching.
- Prioritize a clean-looking surface after mowing.
I would choose a mulching blade when I plan to:
- Leave fine clippings on the lawn.
- Mow regularly before the grass becomes tall.
- Avoid emptying a collection bag.
- Return nutrients to the soil.
One mistake I made early on was assuming that “more airflow” meant “better at everything.” It does not. Strong lift can improve collection, but it may reduce mulching efficiency because clippings leave the deck before being cut several times.
High-lift blade vs. standard blade
A standard blade is the more balanced option for mixed mowing conditions. It usually creates enough airflow for routine discharge without placing as much demand on the mower.
A high-lift blade makes more sense when a standard blade leaves rows of clippings, fills the bag unevenly, or struggles to move heavier grass through the chute. However, I first check for a clogged deck, dull edge, or restricted bag vent because a new blade cannot fix every airflow problem.
Step 3: Decide Whether a High-Lift Blade Fits Your Lawn
Match the blade to your grass, terrain, and clipping method. A high-lift blade is most useful on maintained lawns where strong collection or discharge performance is a priority.
Choose a high-lift blade for bagging
Bagging is the strongest use case for this blade design. The increased airflow helps move clippings through the chute and into the collection container.
In my experience, strong lift also helps fill the bag more consistently from front to back. That sounds like a small detail, but it can mean fewer stops to shake down a partly blocked bag.
A high-lift blade may help if:
- The bag fills slowly despite normal mowing speed.
- Clippings collect around the chute entrance.
- Grass remains flattened after the mower passes.
- Thin trails of clippings remain behind the mower.
- A compatible bagging system needs stronger deck airflow.
The blade is only one part of the system. A blocked chute, dirty deck, wet grass, sealed bag vent, or low engine speed can cause similar problems.
Choose high lift for tall or dense grass
Strong suction can pull longer grass upright before cutting it. The airflow also helps remove the larger volume of clippings from the deck.
I still avoid taking off too much height in one pass.